Originally written in March 2013 and first published on mcyork.com. Reconstituted here on the workshop, unchanged in the words that matter — because I'm about to build a new one.
I was talking with a friend who has a big problem. His son can't use a keyboard but loves to play computer games. He can only use a mouse, and only with his right hand. He has very limited abilities in his left. It became clear after our conversation that if we put our heads together we could make something that might enable him to play the different computer games with more ease and enjoyment.
New video link added at the end of this posting.
We imagined a joystick that could be used to maybe send different keystrokes to the keyboard via some device. I took this problem home and below is what became "the keyboard helper".
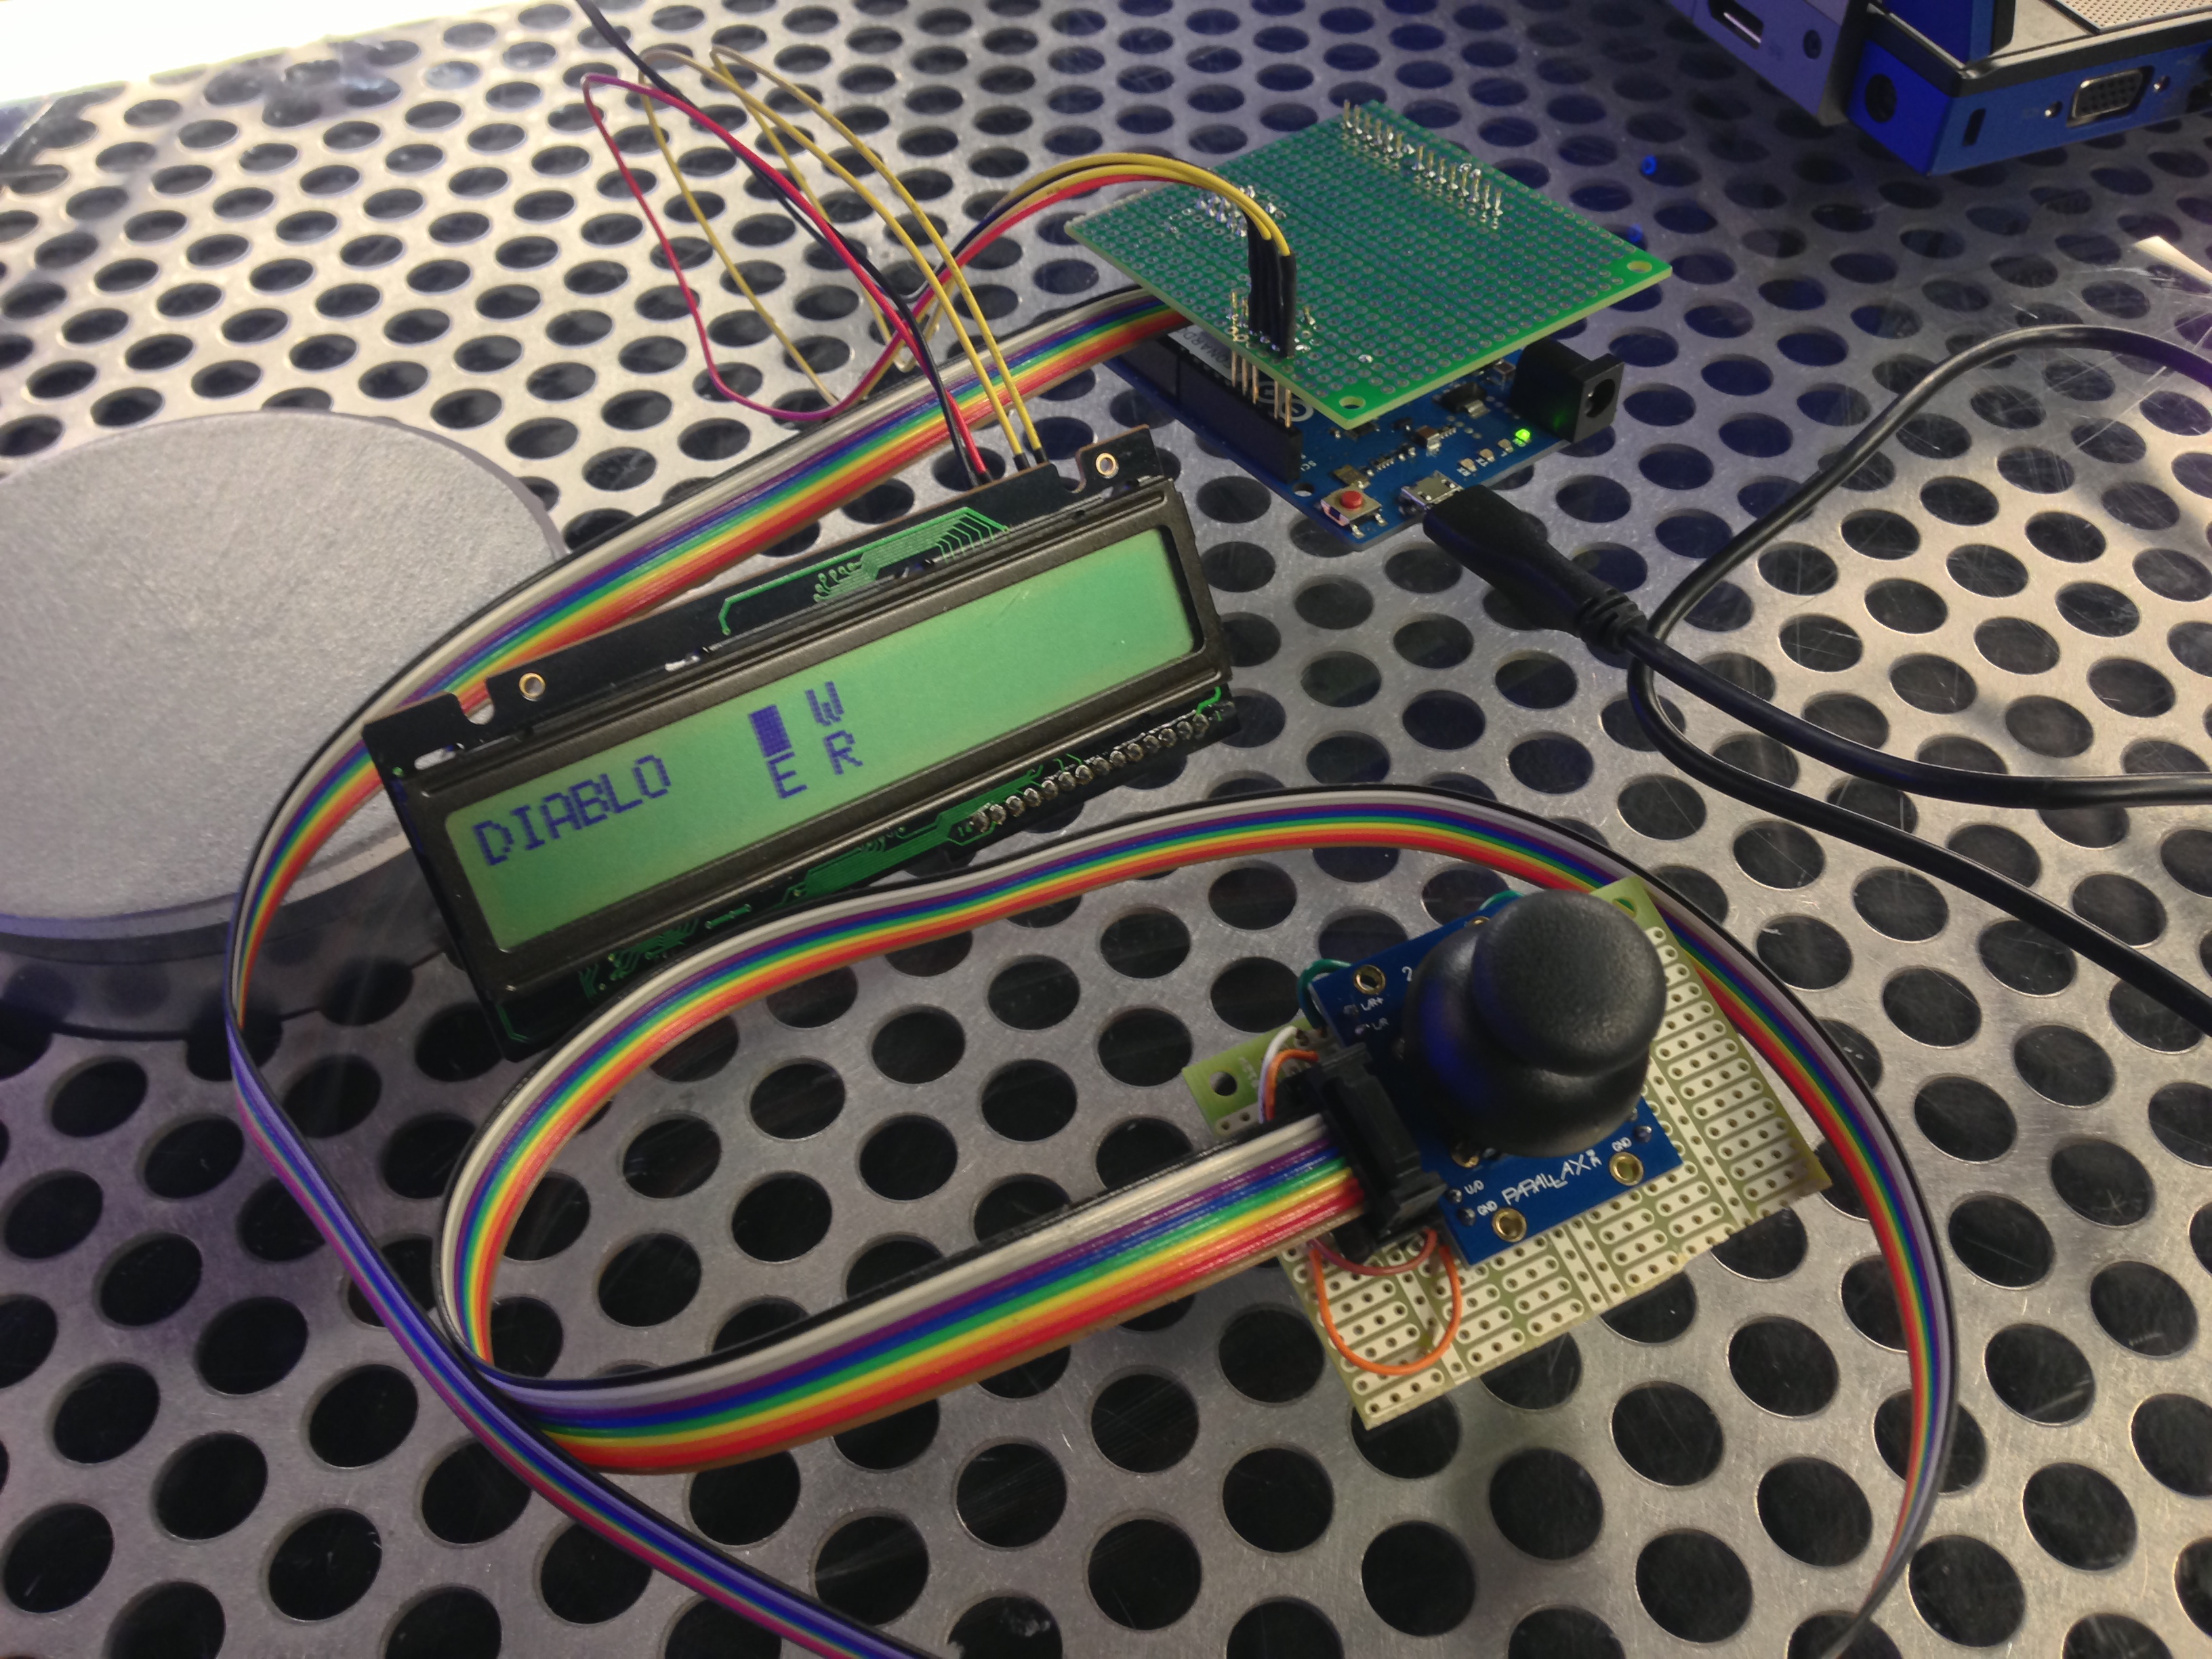
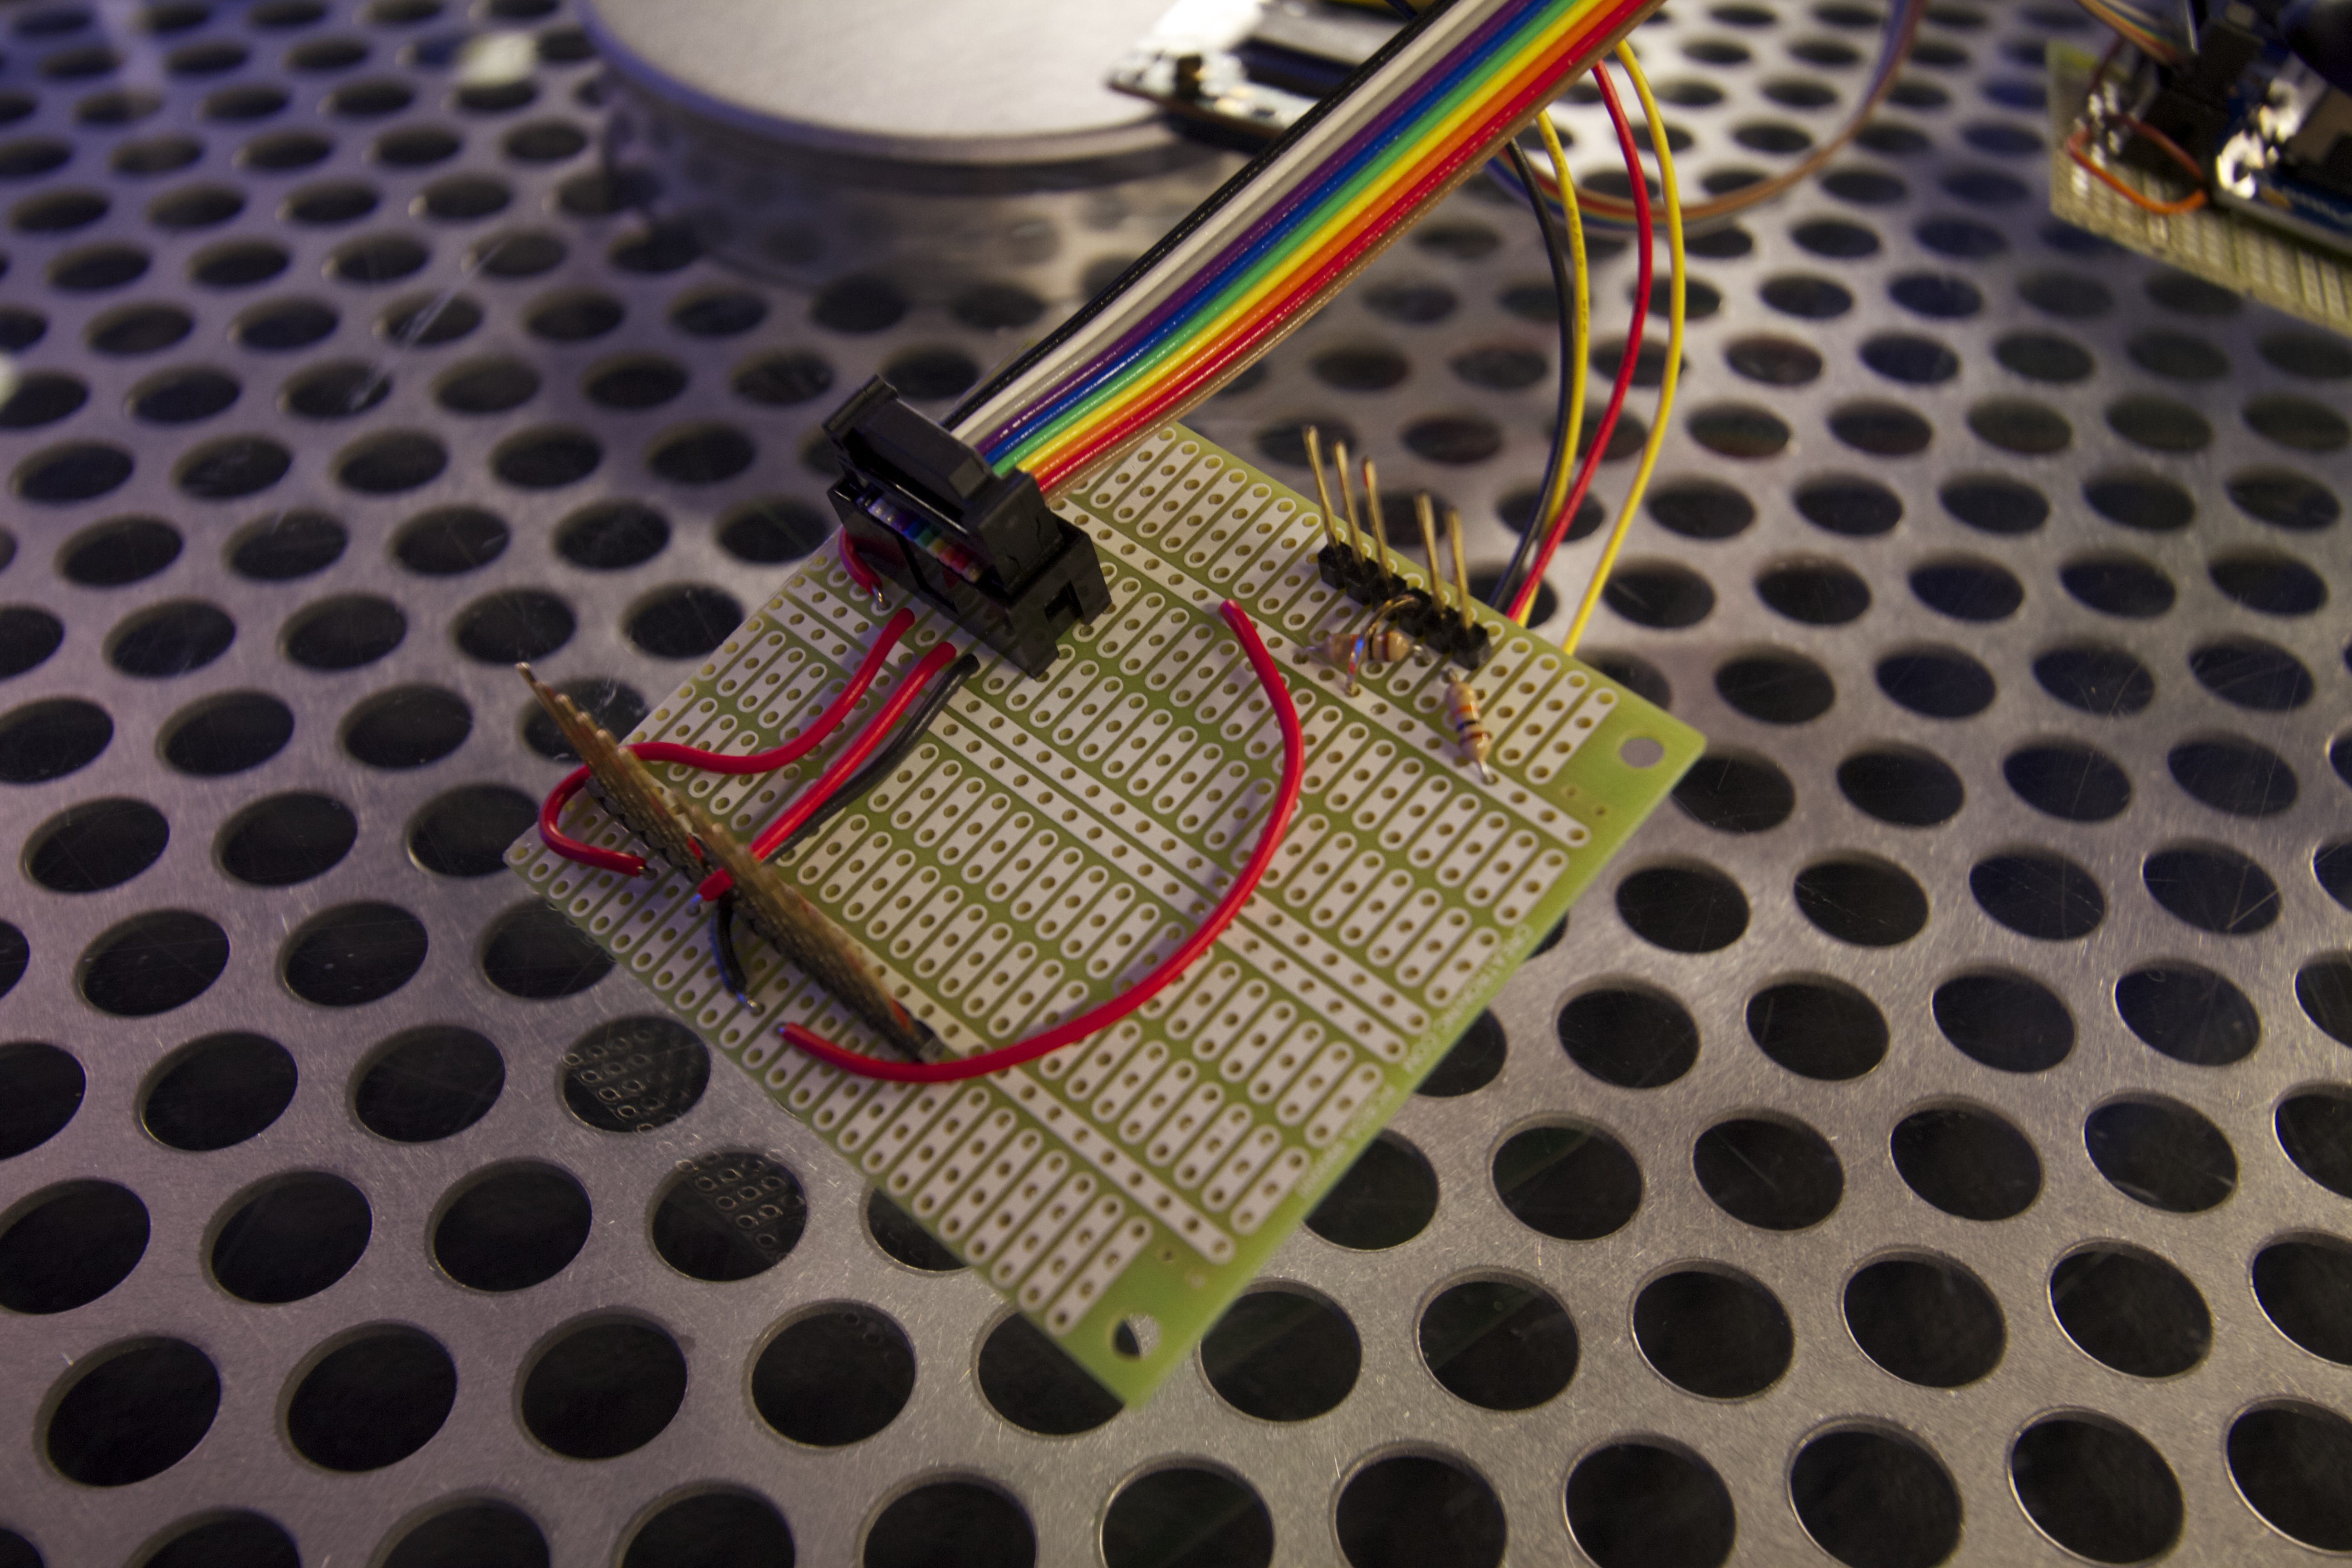
The Arduino Leonardo has a great capability: it can emulate a keyboard and mouse. Using this as the core of the new device I tested a number of code snippets. I was able to send words and keystrokes to Notepad — what fun! The next thing was to read analog ports connected to a joystick. There are a ton of examples on the web; I got this running quickly. To wire up the joystick I needed to tie in some resistors. I'll try to explain why they are on the circuit later. The last part was to add an LCD display for some visual feedback. I thought it would be important, and we found out after the fact that it ended up having a very different function than what I had first envisioned. LCD displays can be hooked up in a few different ways — the most common are parallel (all pins) or via some intermediate device you talk to over serial or i2c. I had an i2c-to-LCD kit from an old project and decided to re-use it (the link is to a more recent iteration). The LCD itself was pulled out of an old PBX phone — it had some odd pinouts, but normal LCDs you find on the web will be simple to wire up.
On a 2-hour flight, I crafted most of my notes on how I felt the "system" would work.
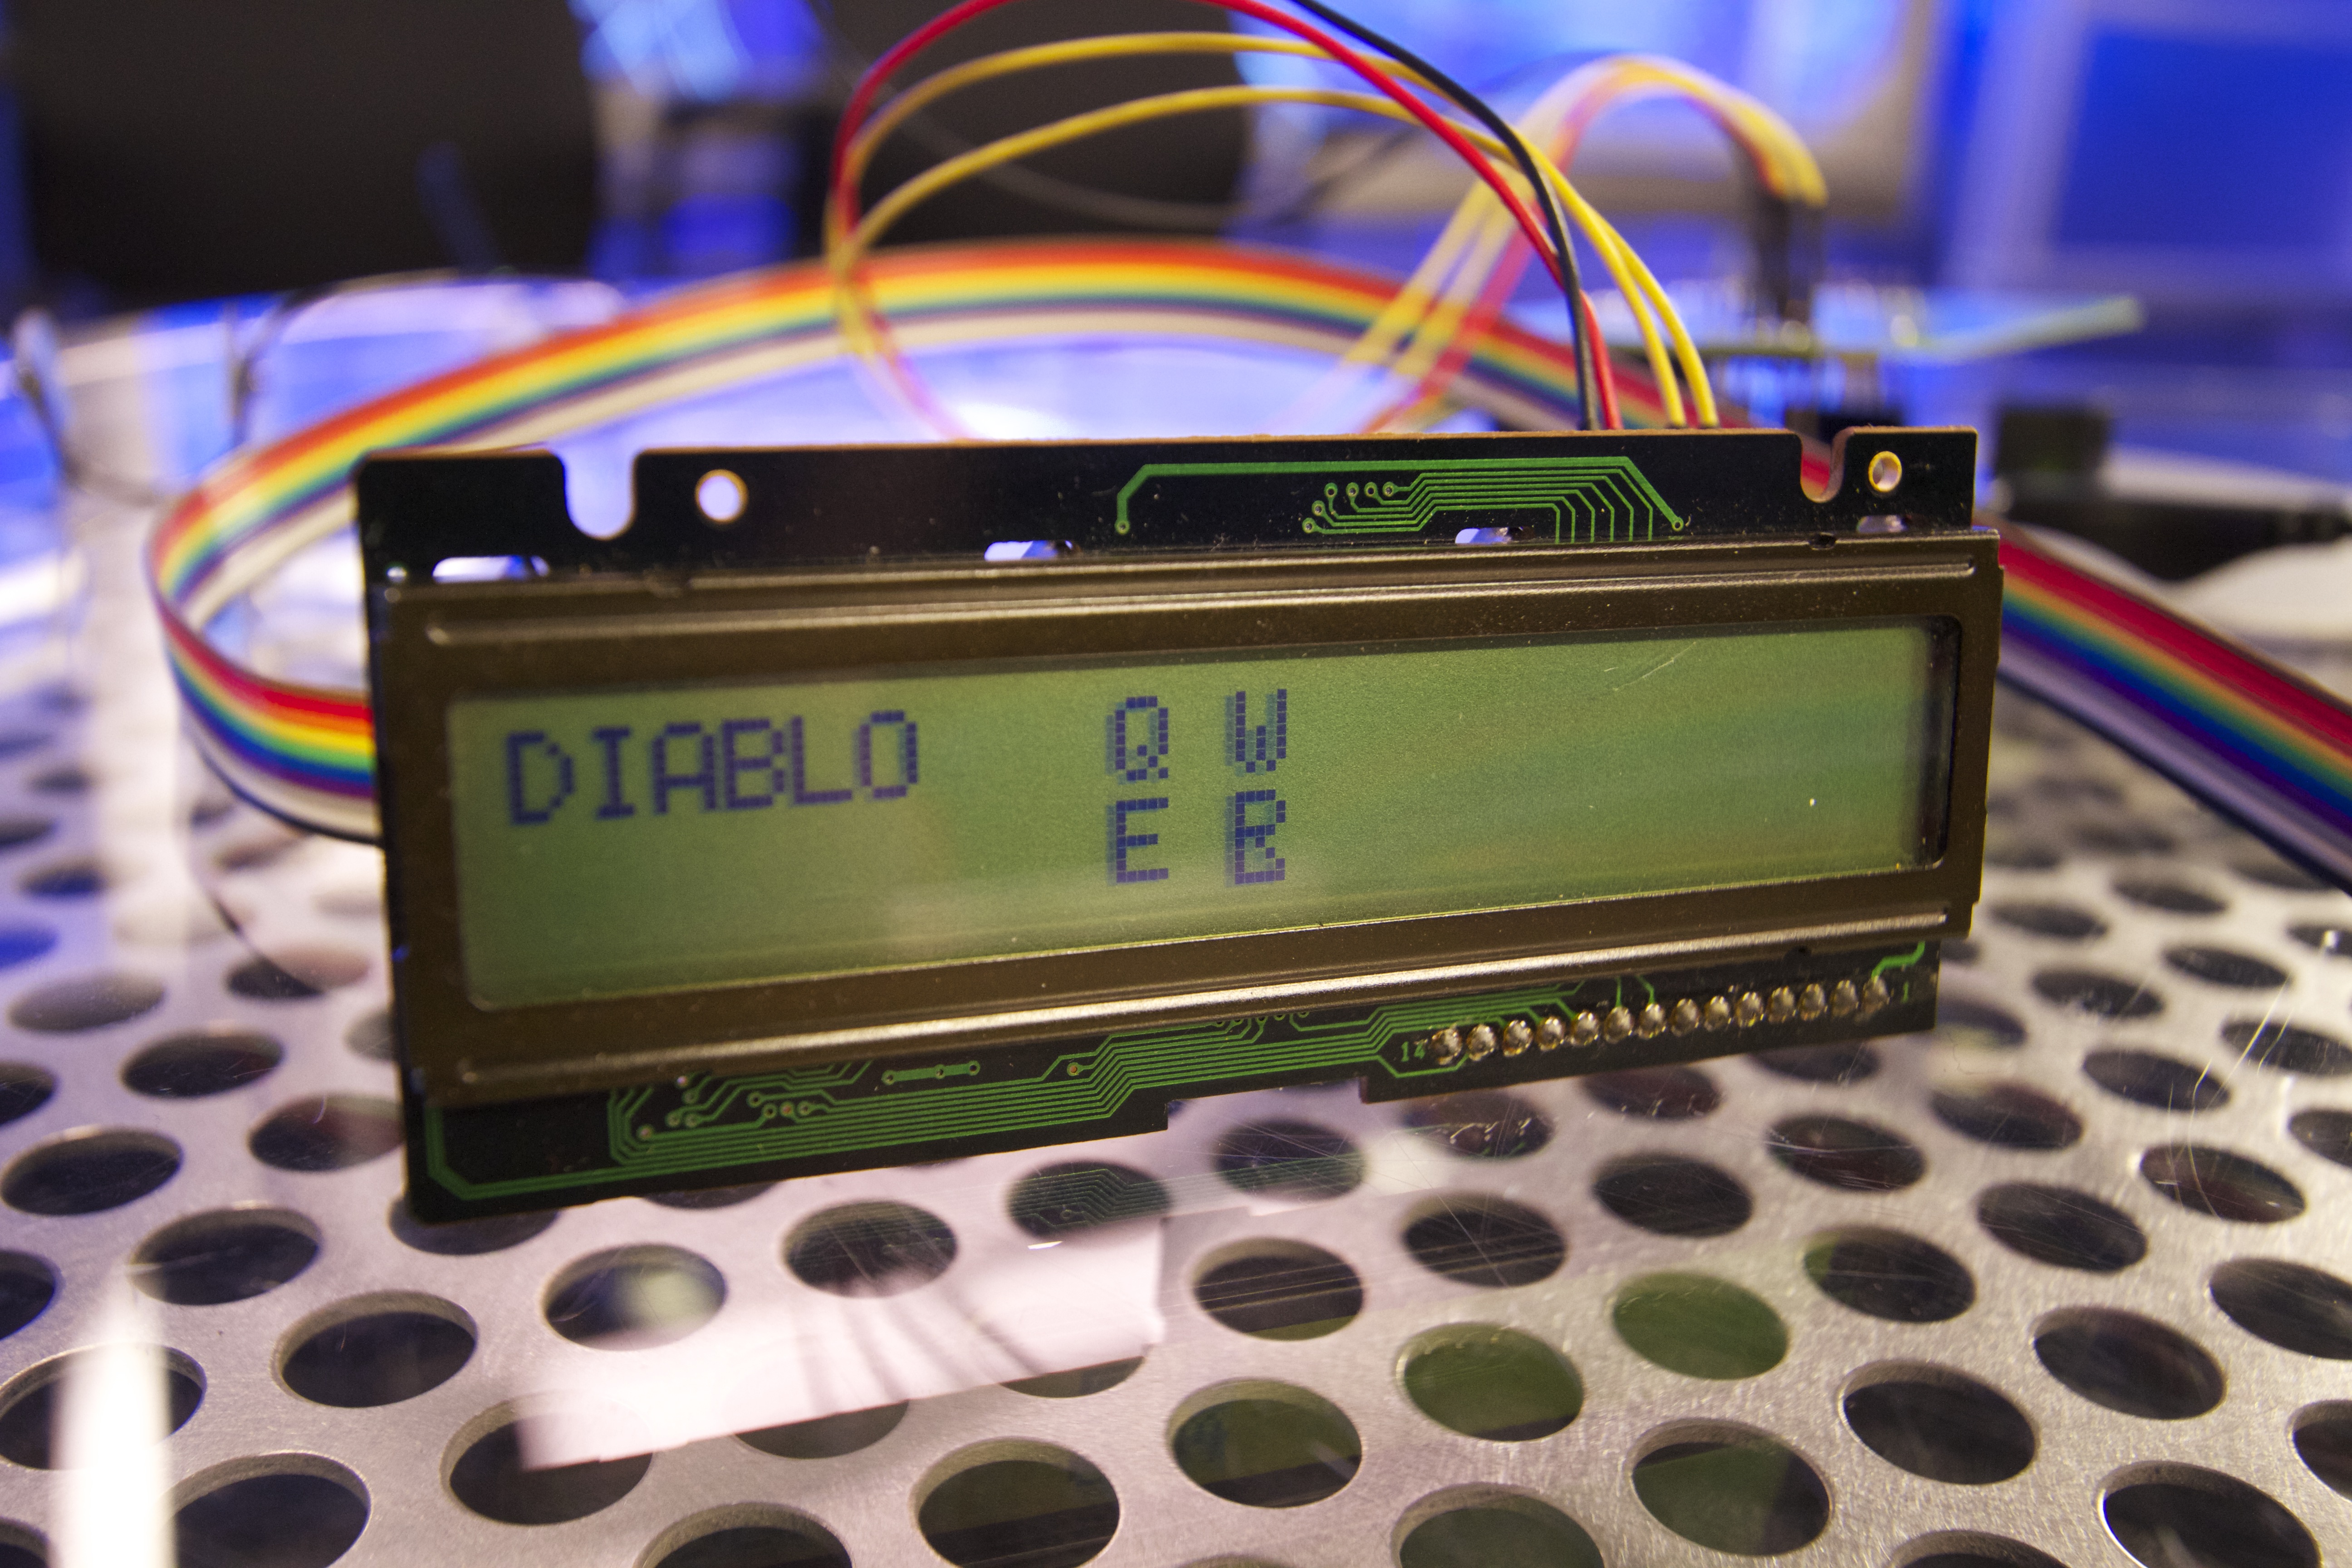
I'd present a grid on the 2-line display of the characters Q W E R.
________Q__W______
________E__R______
Something like the above. When you tell the LCD to use a blinking cursor and then move to a position on top of a letter, it looks selected. By moving the cursor over each letter as the joystick moves, you can see what letter is available to be typed to the computer. Great visual feedback. In the above diagram, suppose Q is highlighted. A movement UP or LEFT on the joystick would then send the letter Q to the keyboard. A movement DOWN would select E but not send E. Once on E, a movement LEFT or DOWN would send E. Scroll to the letter needed, then move off the screen to send it to the computer.
That's how the 1.0 version functioned. There was some immediate feedback as the game being played changed. It would be preferred to hold the key down and not just type one letter. Selecting the letters became less critical — now it was a matter of just holding down the key, and there were only 4 to send. Here is the resulting logic main loop of the program that shows this modified approach.
void loop()
{
  center = 1;
  up    = map(analogRead(0), 0, 1023, 0, 1);  // Q  MoveTo(0,9);
  left  = map(analogRead(1), 0, 1023, 0, 1);  // E  MoveTo(1,9);
  down  = map(analogRead(2), 0, 1023, 0, 1);  // R  MoveTo(1,11);
  right = map(analogRead(3), 0, 1023, 0, 1);  // W  MoveTo(0,11);

  if (up) {
    Keyboard.press('q');
    MoveTo(0,9);
    center = 0;
  }
  if (left) {
    Keyboard.press('e');
    MoveTo(1,9);
    center = 0;
  }
  if (down) {
    Keyboard.press('r');
    MoveTo(1,11);
    center = 0;
  }
  if (right) {
    Keyboard.press('w');
    MoveTo(0,11);
    center = 0;
  }
  if (center) {
    Keyboard.releaseAll();
    MoveTo(0,0);
  }
}
The letters are now being sent as lower case. What's nice about this approach is the MAP function. It has a lot of uses. Here it converts the range 0–1023 into the range 0–1. This lets the code read both momentary-switch joysticks and analog potentiometer joysticks (we've used both in our prototypes).
Mental note: if two states are on at the same time, does the keyboard function send both, or does the last one sent win? Think about moving on a diagonal in a game, and how the code above may or may not enable that.
I am working on a wiring diagram — it's going to be a while until I either build a second version or borrow back the one I've built for a day to recall the exact details. Like I said above, examples for each element of this are easy to find on the web; you shouldn't have much trouble.
A working version of the code lived on Google Docs at the time. (That 2013 link has since gone dead — the loop above is the heart of it.) As my LCD and I2C are probably different from yours, there will need to be some adjustments in the commands sent to the LCD.
I liked this project for a number of reasons.
- Jerry is a much happier camper now.
- I had no idea how great that would make me feel.
- Game control is vastly improved.
- The project was small in scope and I was clear on the goal.
Thank you for reading. There is not too much more to say about this project at this time. It will be a while, but the circuit will be doodled up some day.
Go make stuff.
The LCD took on an unexpected use. It happens the joystick needs to be positioned just right — exactly right — such that the limited motion of the left hand can move in the 4 directions. It takes some time to get this center point just right. The LCD ended up highlighting the direction of the "problem," and my friend can use that as visual feedback until he gets both the joystick and his hand centered.
Update. The fine film crew at work put together a video of the project's impact. That original copy has since been lost — we're tracking down Jerry's copy to post here.